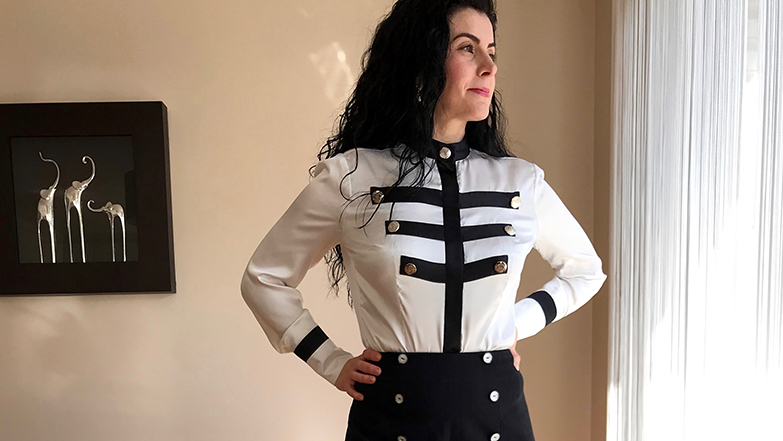
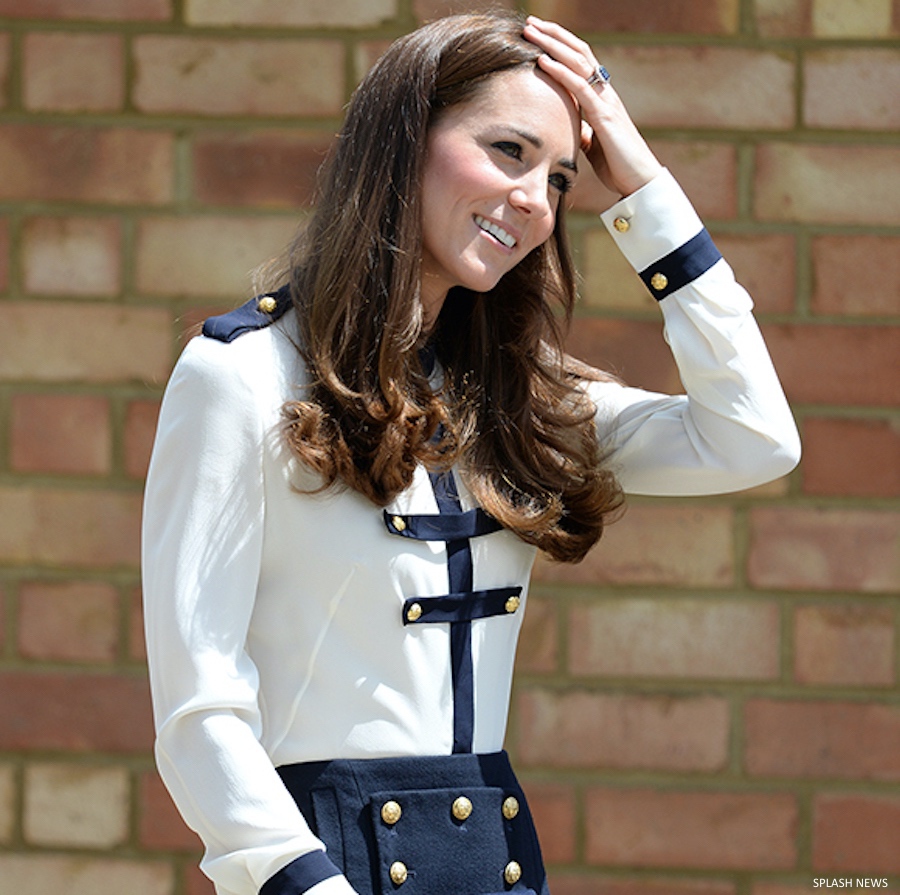
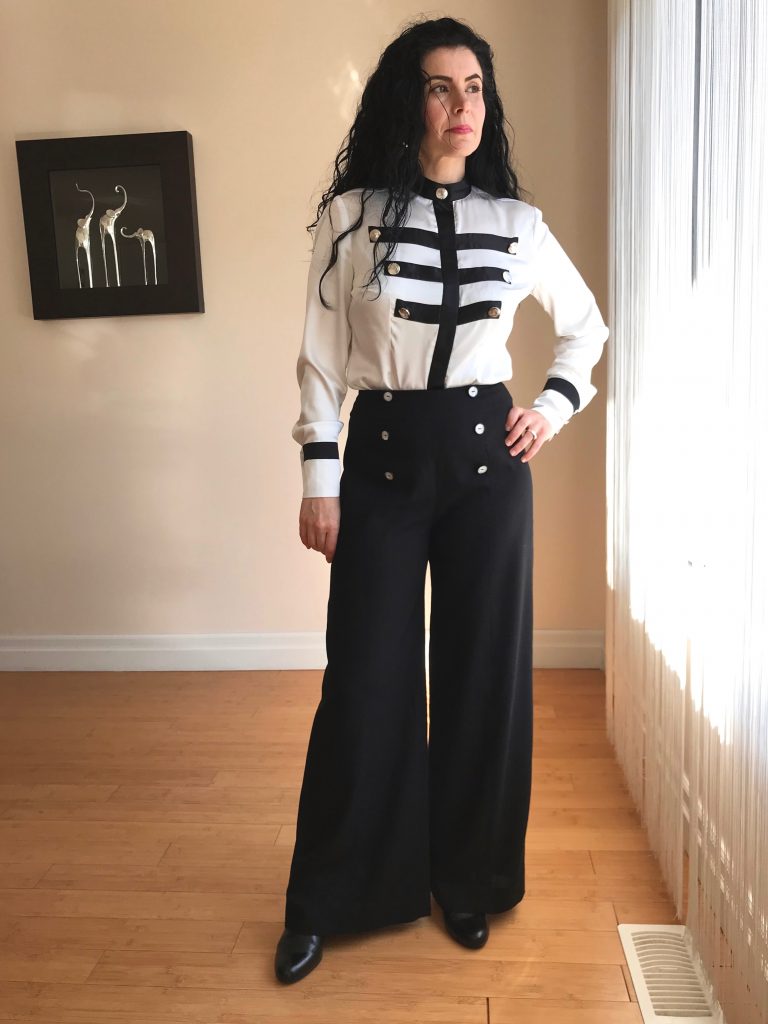
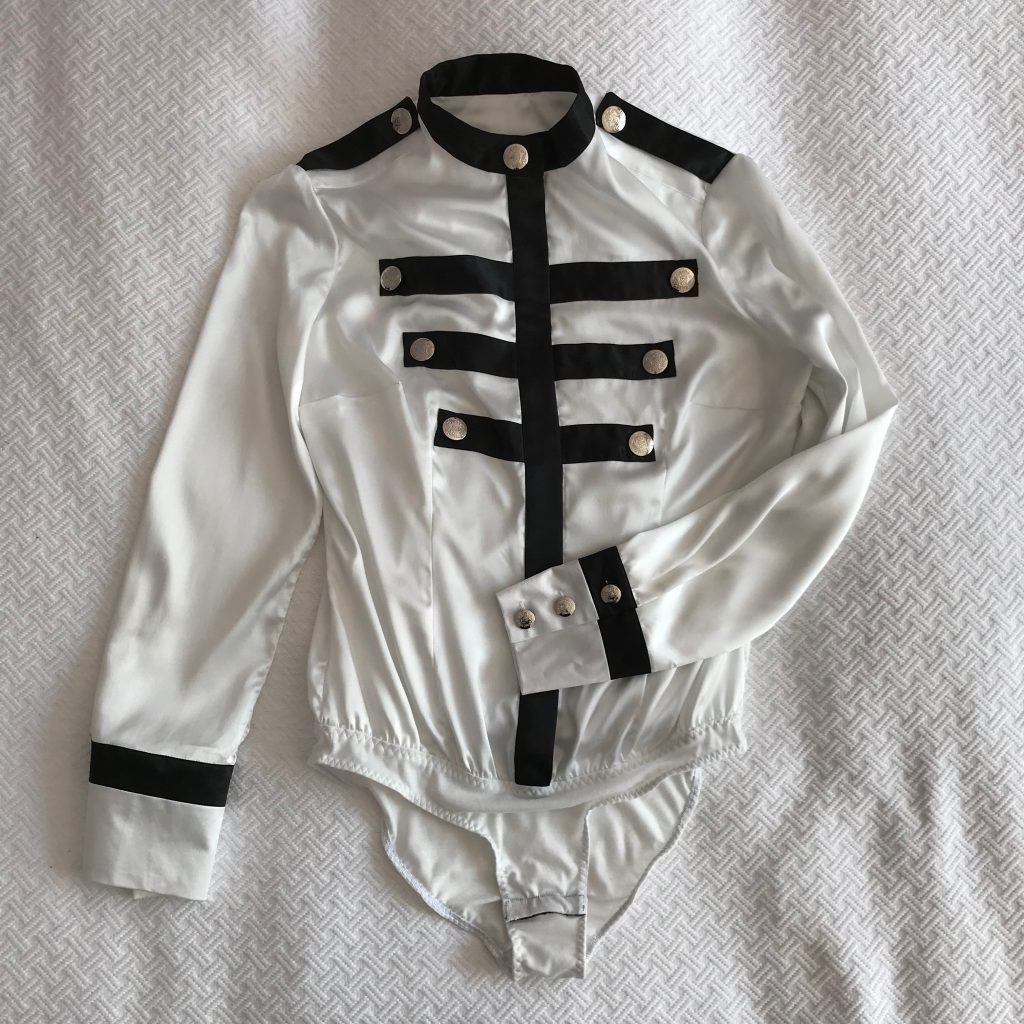
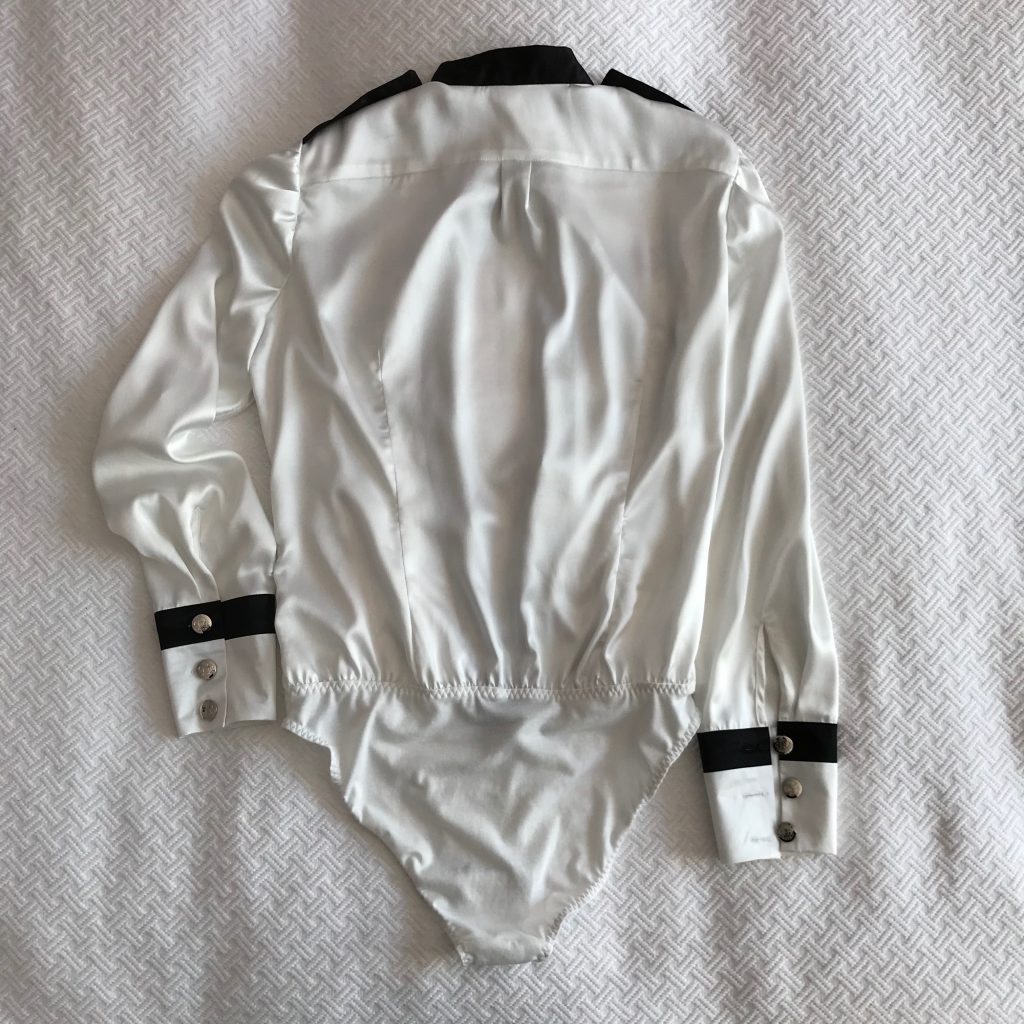
This blouse came about out of necessity to complete an ensemble of wide-legged trousers. An internet search for “military blouse” rendered an outfit worn by Her Royal Highness the Duchess of Cambridge. It caught my eye, and my spouse agreed it was a good complement to the pants. Only later did I notice in one of the articles that the outfit came from the Sarah Burton’s for Alexander McQueen pre-fall 2011 collection.

The pattern work for the blouse
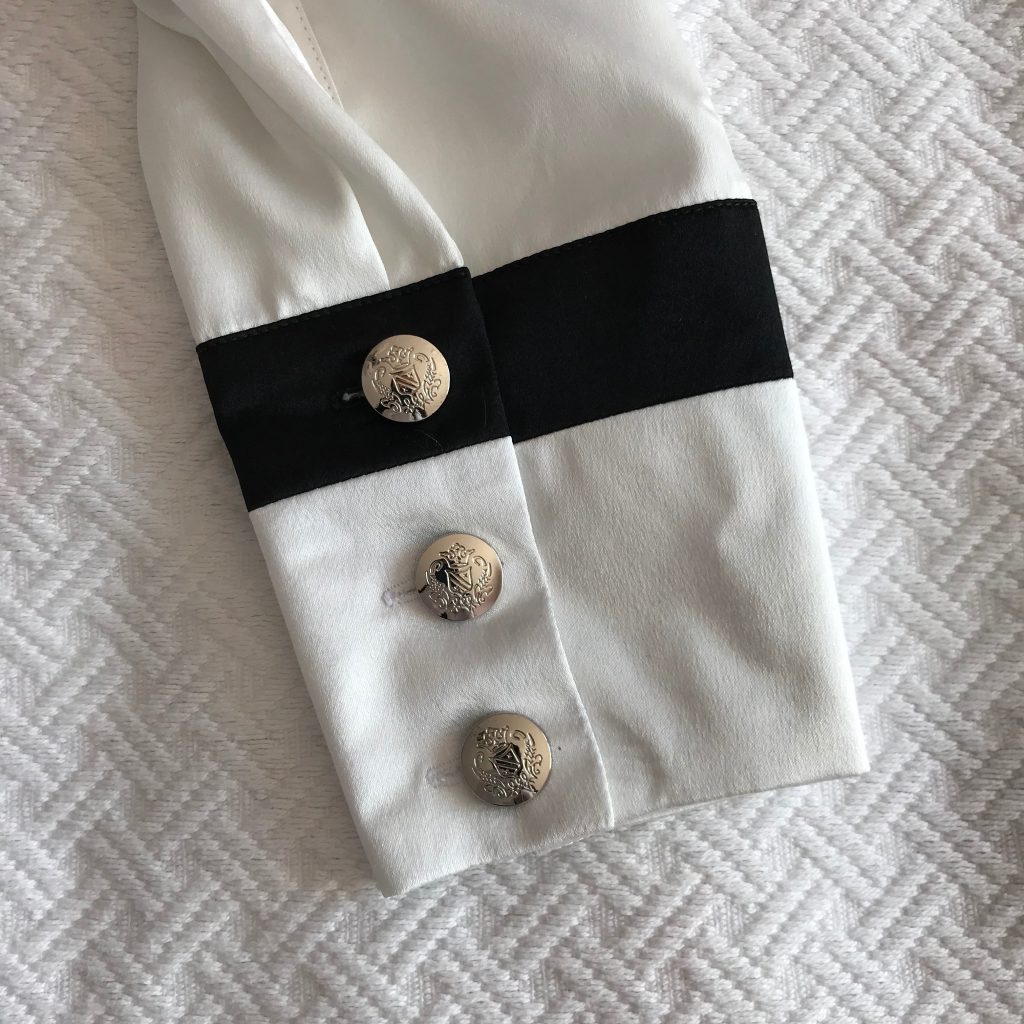
A quick peruse of my fabric stash revealed that I have the materials needed. To make the pattern, I started with the tried and tested dress block drafted using the Rundschau system (система Мюллера). I moved the shoulder blade dart into the back armhole and created a back yoke. I added a pleat at the center back for the bodice. In the front, I moved the bust dart to the side of the bodice and added 1cm at the center front. The placket, collar, and all decorative details are 3 cm wide. The cuff is 9 cm wide, and I created it with the simple slash-and-spread method.
The body/panty part, that was somewhat of a gamble. I drafted the panty using the same Rundschau system. I made up a “muslin” and tried it on my spouse. I was happy with it. However, I could not find common points between the underwear and the blouse patterns. I decided to “marry” them together after I have sewn both parts of the garment. Skipping a bit forward, here is how it worked. We put both parts of the garment on, and I carefully pinned the blouse to the underwear part along the top line of the panty. I measured how much of the bottom of the blouse I needed to eliminate and transferred that information to the blouse pattern to use later as a reference. Then, I trimmed the access of the blouse and proceeded with sewing the blouse and the panty together.

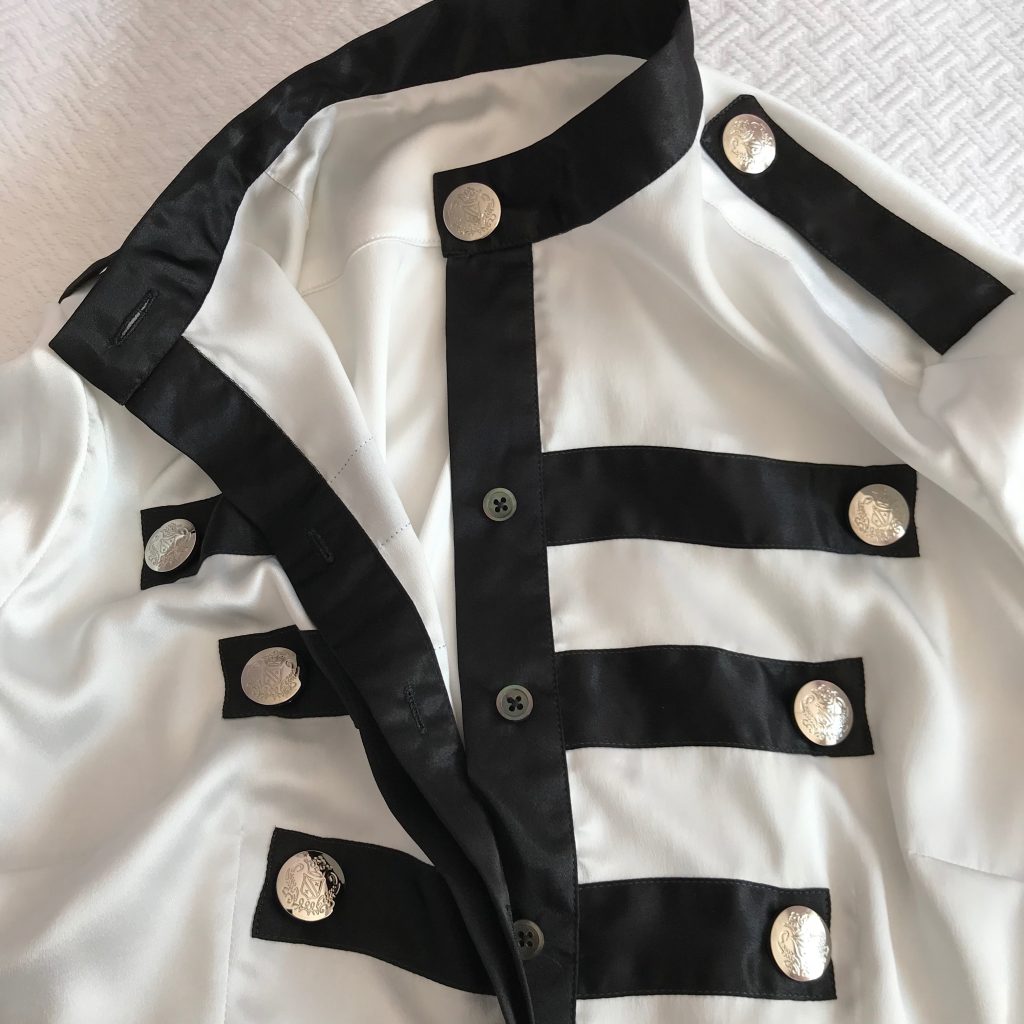
Assemblage of military blouse
As I was cutting major bigger pattern pieces out of the satin, I realized I wouldn’t be able to accurately cut smaller pieces, because the fabric was moving excessively. Corn starch came to my rescue! I used a fairly week corn starch solution in a spray bottle to temporarily stiffen the fabric. I used about 1 tsp of starch to 1 cup of water proportion (may be more starch), doused the fabric lying flat with the solution and dried it with the iron. Voila, almost paper-like fabric that is easy to cut, fold and stitch. In fact, I starched the front bodice pieces after I cut them out, just to make sure I could stitch the applications accurately.
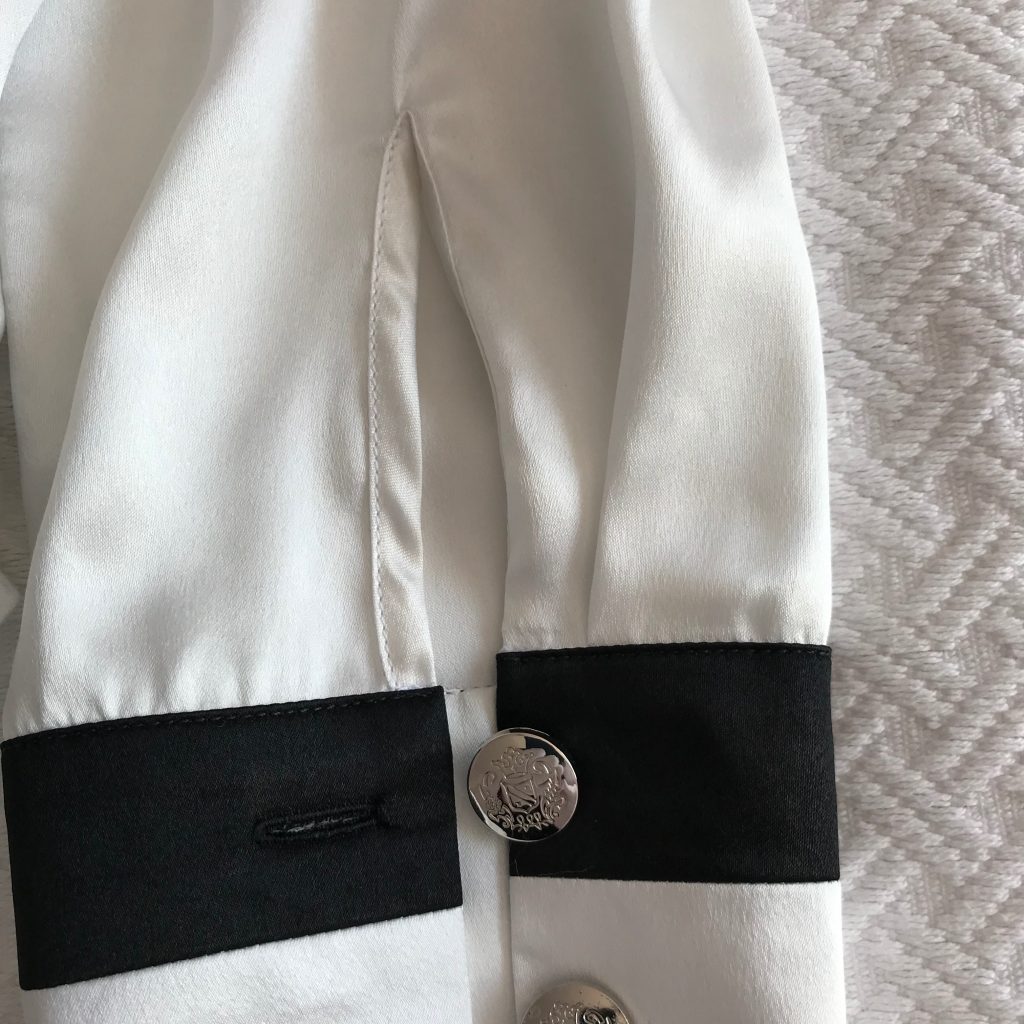
For my decorative front pieces, I used a 3cm-wide strip of paper as a template to fold and iron the pieces. Only one side of the collar and one layer of the plackets and the cuffs are stabilized with lightweight interfacing to maintain the suppleness of the fabric, but support the buttonholes.
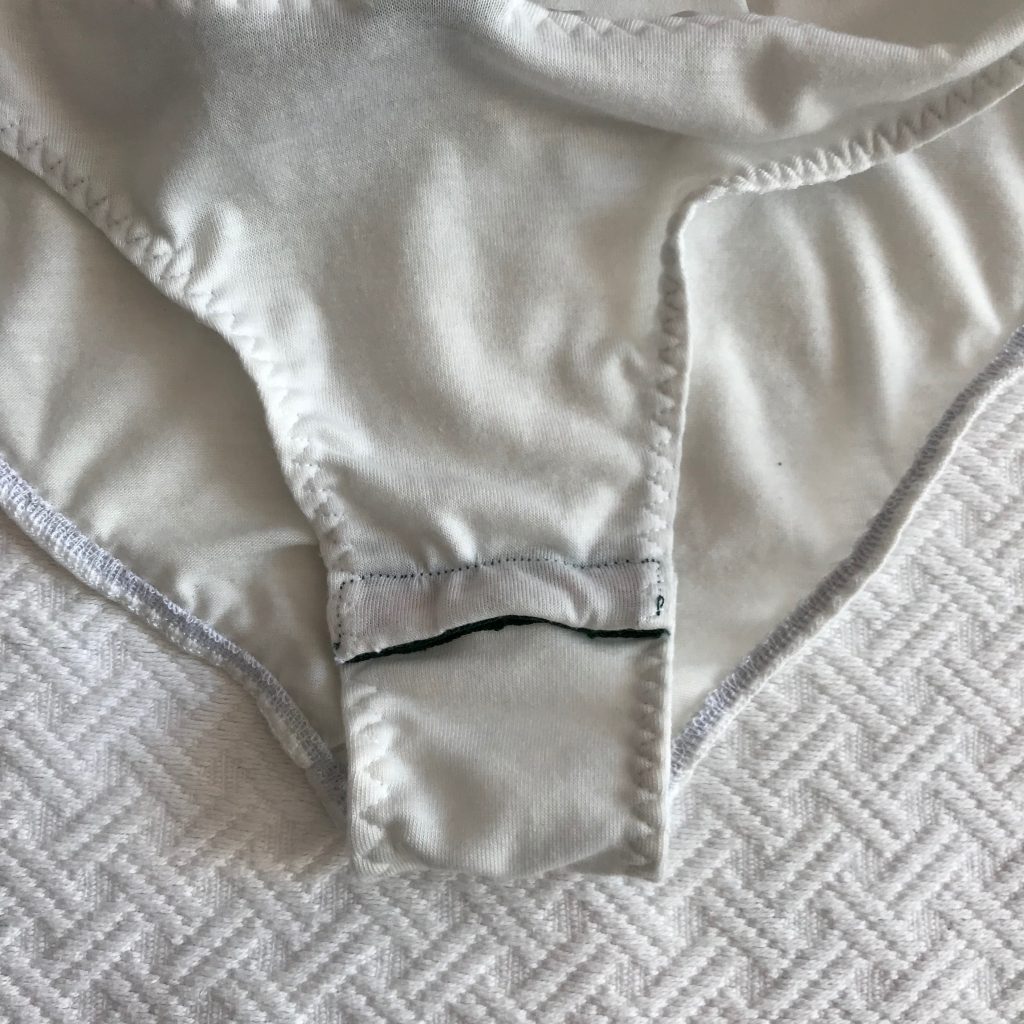
The body/panty part took a bit longer to put together than I expected. I sewed front and back of the panty together and then attached the elastic along the leg opening on the overlock machine. Then, I turned it under and “top-stitched” using an “elastic” zig-zag stitch.
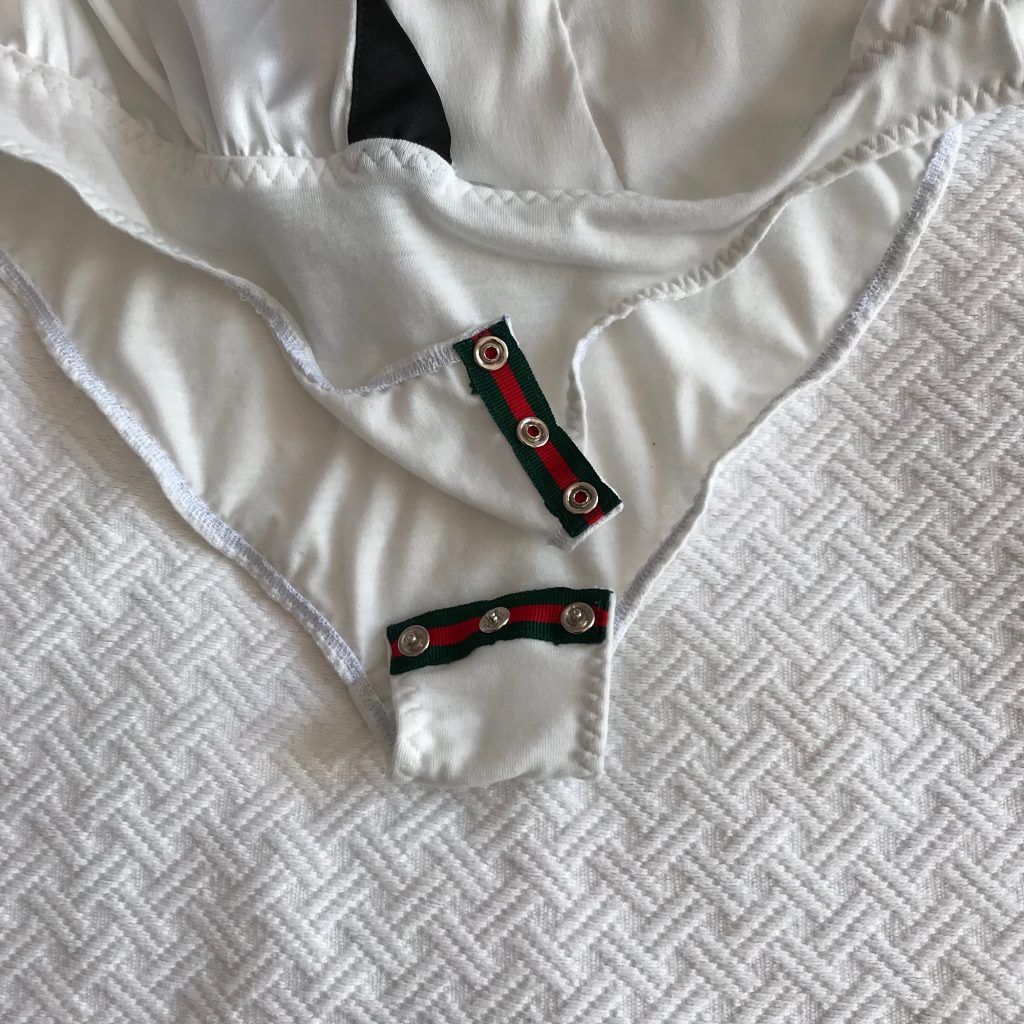
Then came the snaps part. First, I attached 1 long side of the grosgrain ribbon to the front and the back parts of the panty. Then, I installed the snaps. And last, I top-stitched the ribbon into the panty.
To attached the blouse to the panty, I sewed the top and bottom parts of the garment together with the elastic on the overlock machine, turned it down, so that the blouse remains as one layer and the panty is doubled, and top-stitched it with the “elastic” zig-zag stitch.